Roblox Pressure: Monster Survival Guide
- By Savannah
- Mar 13,2025
Mastering Roblox's *Pressure* hinges on understanding each monster's unique behavior to conquer every room. While some share similar strategies, others demand specific tactics. This guide details every monster in *Pressure* and how to survive their encounters.
Recommended Videos
Table of contents
-----------------How to Survive All Monsters in Pressure Pandemonium Good People Eyefestation Squiddles Locker Void-Mass Wall Dweller Redeemer and Hanger Candlebearers & Candlebrutes The Angler Pinkie Froger Chainsmoker Blitz Bottomfeeder The DiVine
How to Survive All Monsters in Pressure
This guide outlines how to defeat every monster in Pressure. Some are random encounters, others are Node monsters following specific paths, and some, like The DiVine, appear only in certain areas (Oxygen Gardens). I'll detail specific strategies and warning signs to help you time your escapes. Remember: Cleithrophobia activates if you hide too long, forcing you out. Don't hide prematurely; instead, observe the cues for each monster.
Pandemonium
Good People

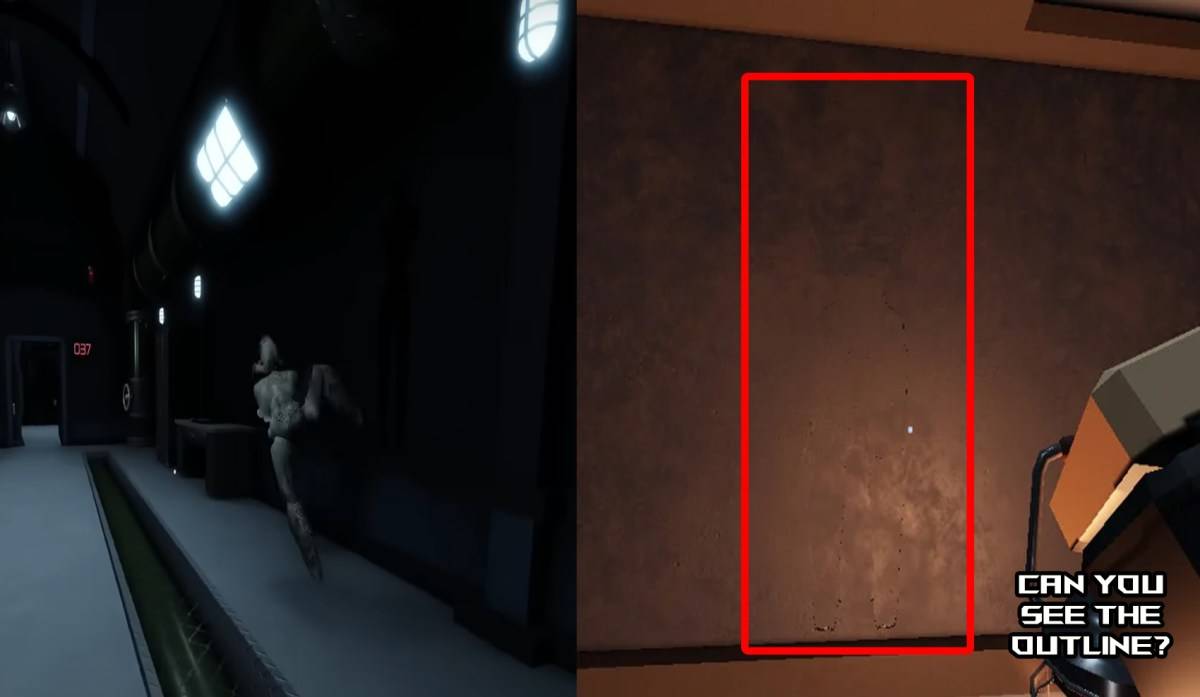
Fake Door Cues: Approach doors carefully. Listen for breathing, growling, sparks, or faint scanlines on the nav-path sign. These indicate Good People. Dark Rooms: In dark rooms, fake door nav-paths remain lit; real doors are dark. HQ Messages: If HQ suggests a path without revealing the incorrect one, check for fake doors.
Eyefestation
Squiddles
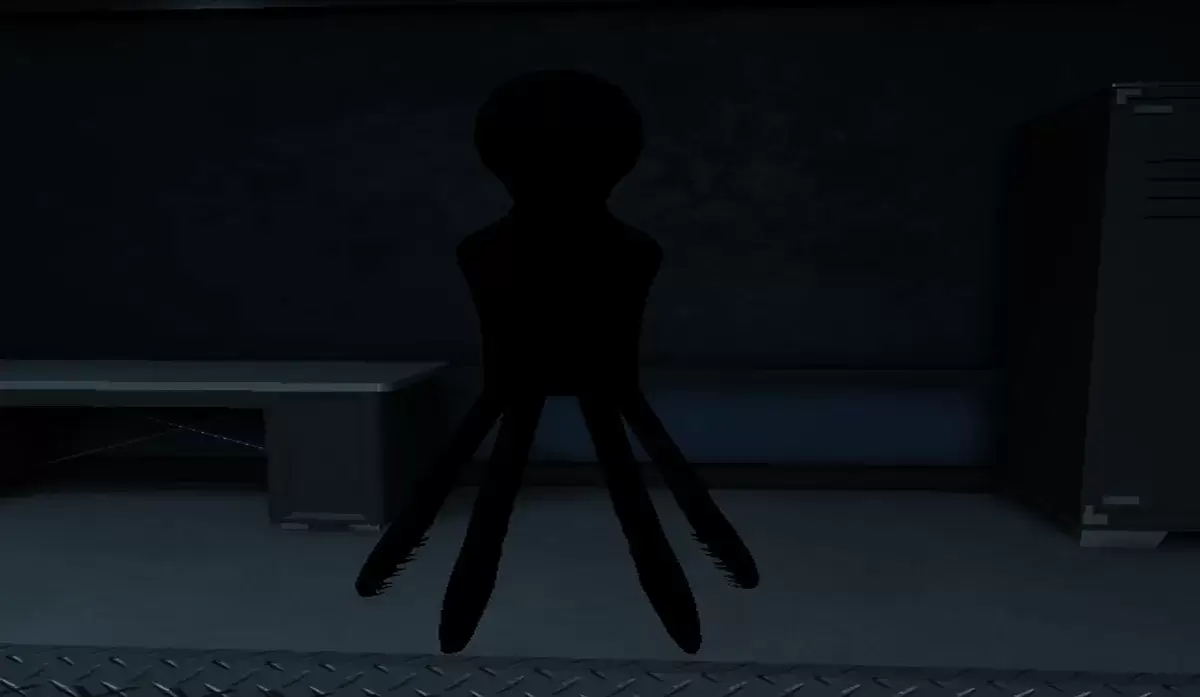
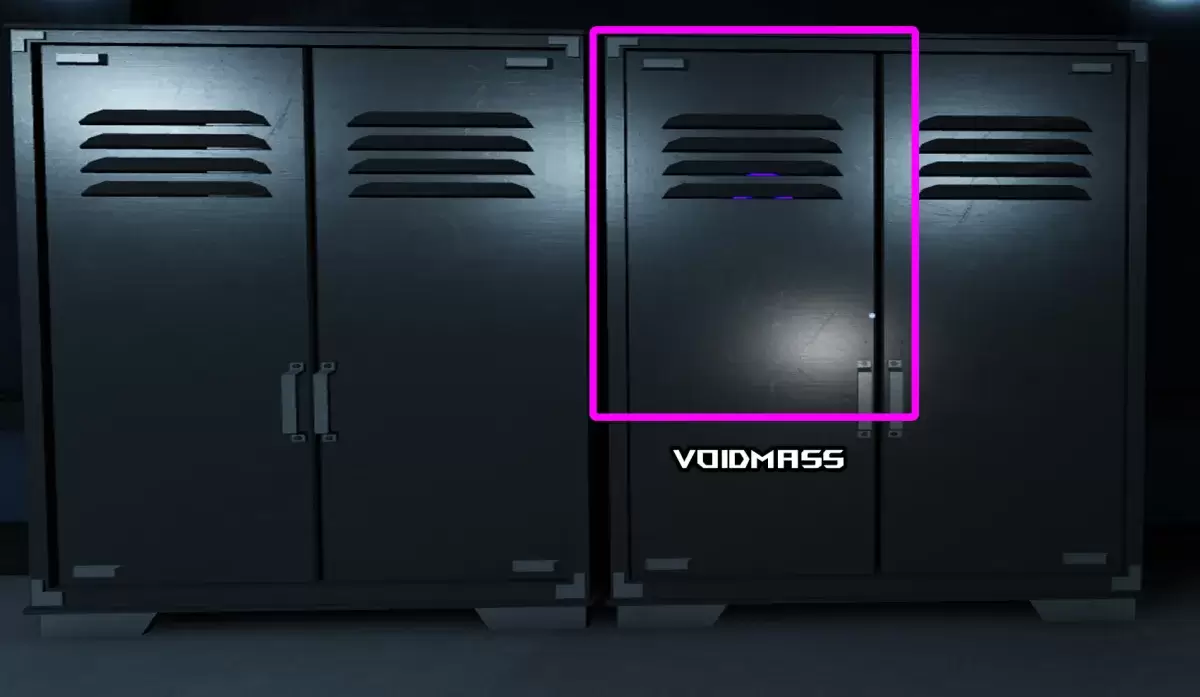
Locker Void-Mass
Wall Dweller
Note: Roaming Nodes (like The Angler) kill Wall Dwellers, leaving behind a health-restoring meat chunk. Meat from player kills is defective.
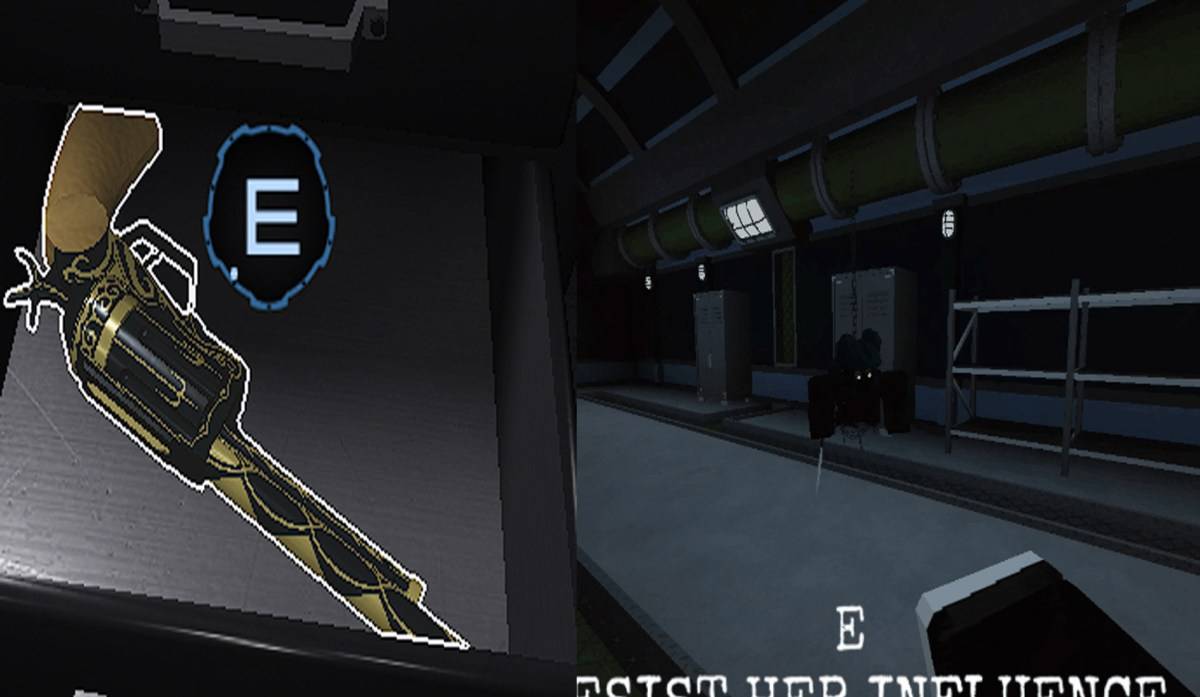
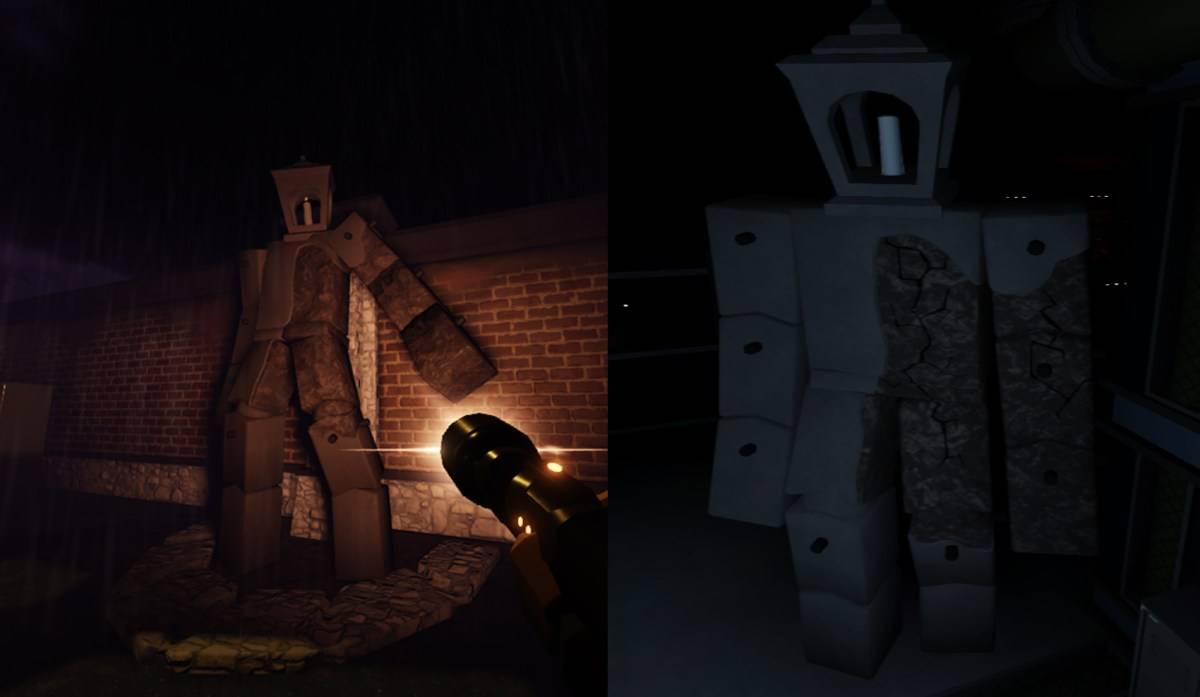
Redeemer and Hanger
Candlebearers & Candlebrutes
Candlebrutes are tougher; light only slows them, not stuns. Emergency lights are ineffective. Shine for 5 seconds max before they enrage.
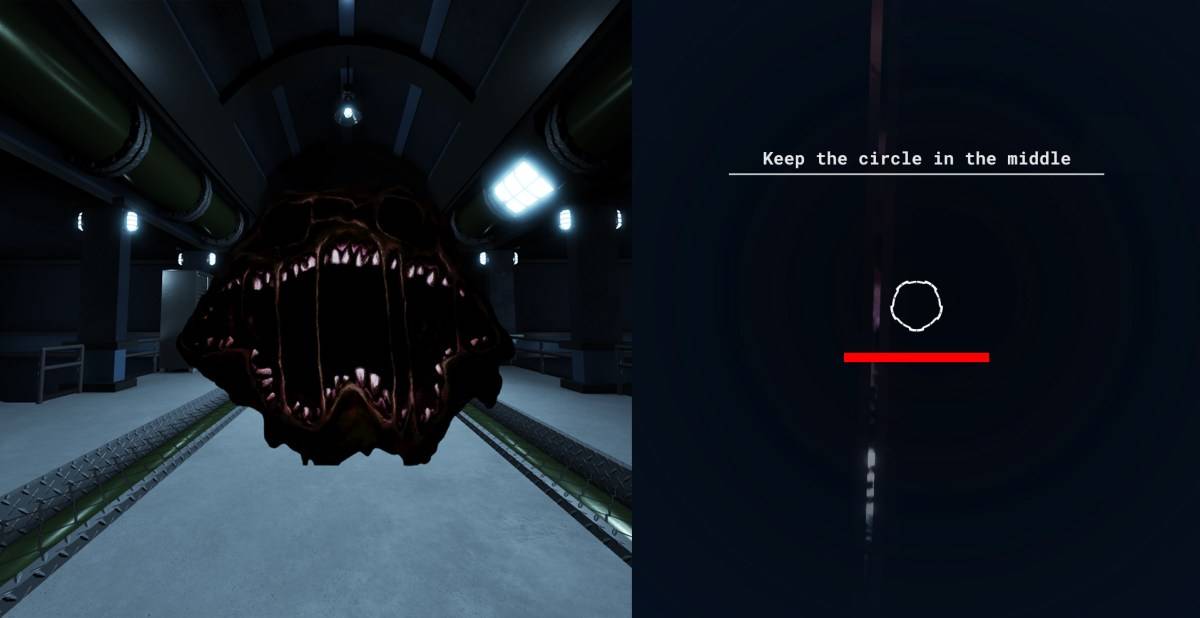
The Angler

Pinkie
Pinkie is like The Angler, but without the light flicker warning. A screech signals its approach; hide in a locker. Spawning rules are the same.
Froger
Froger mirrors The Angler (flickering lights, screech), but it rebounds after reaching the end of its path, requiring repeated hiding.
Chainsmoker
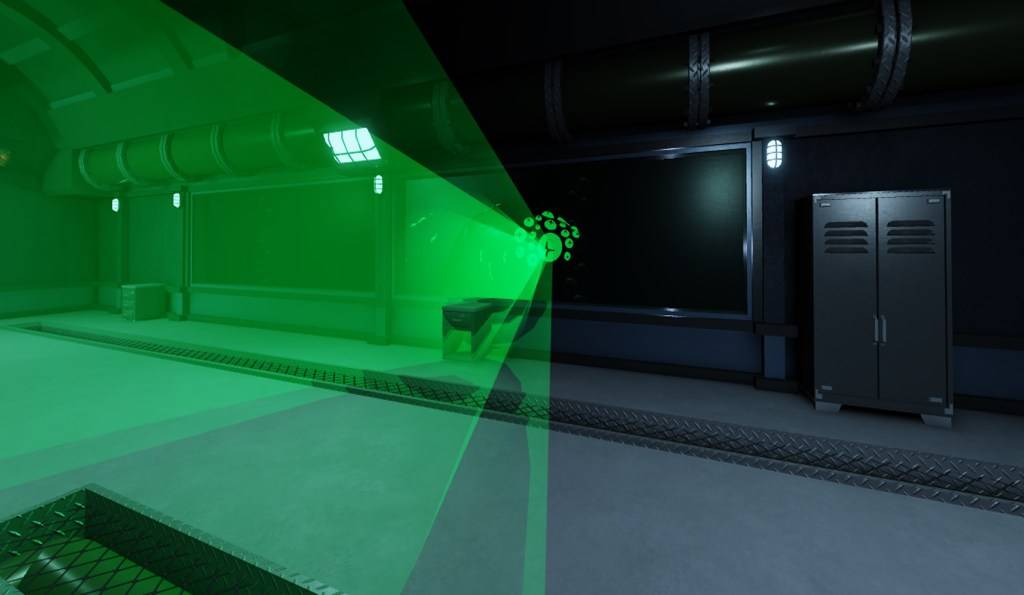
Chainsmoker (flickering lights, rattling chains) emits green smoke before entering a room, potentially forcing you out of a locker. Hide when your screen shakes—the gas won't affect you in time. It's one of the slowest monsters.
Blitz
The fastest variation. A screech precedes its arrival; a loud roar signals imminent entry. Hide immediately.
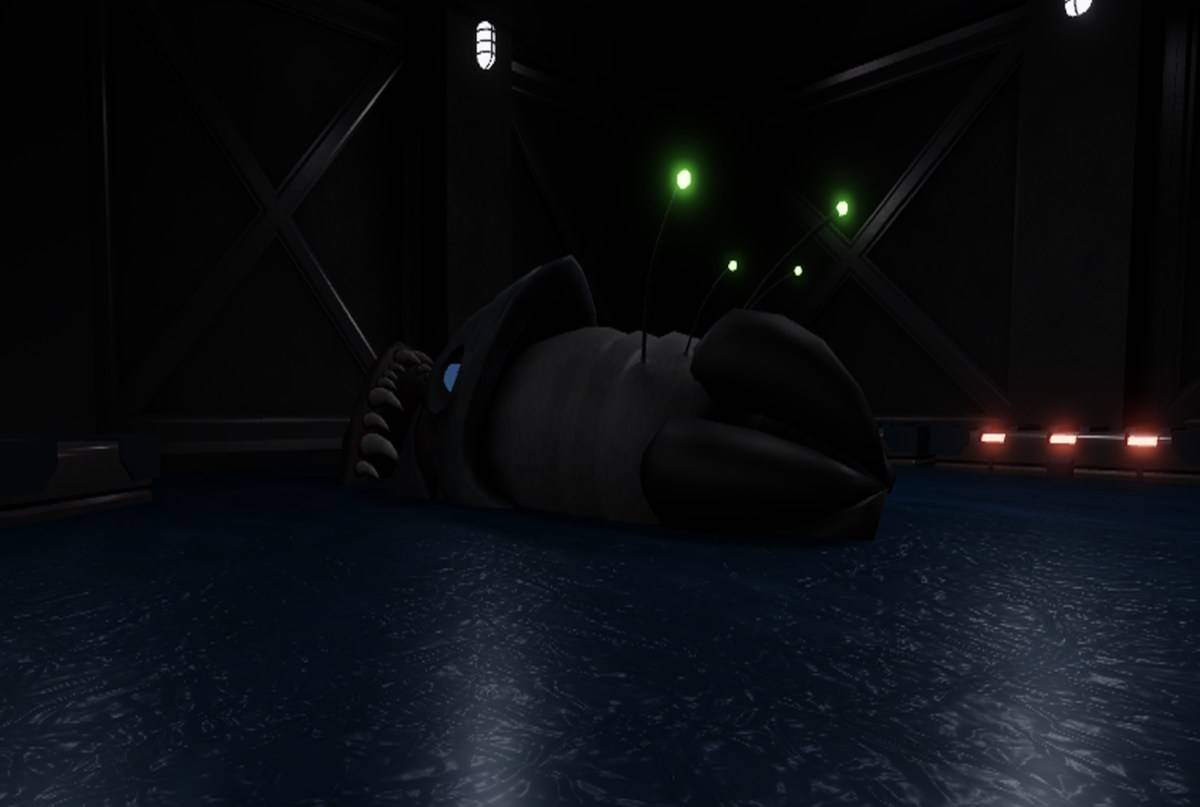
Bottomfeeder
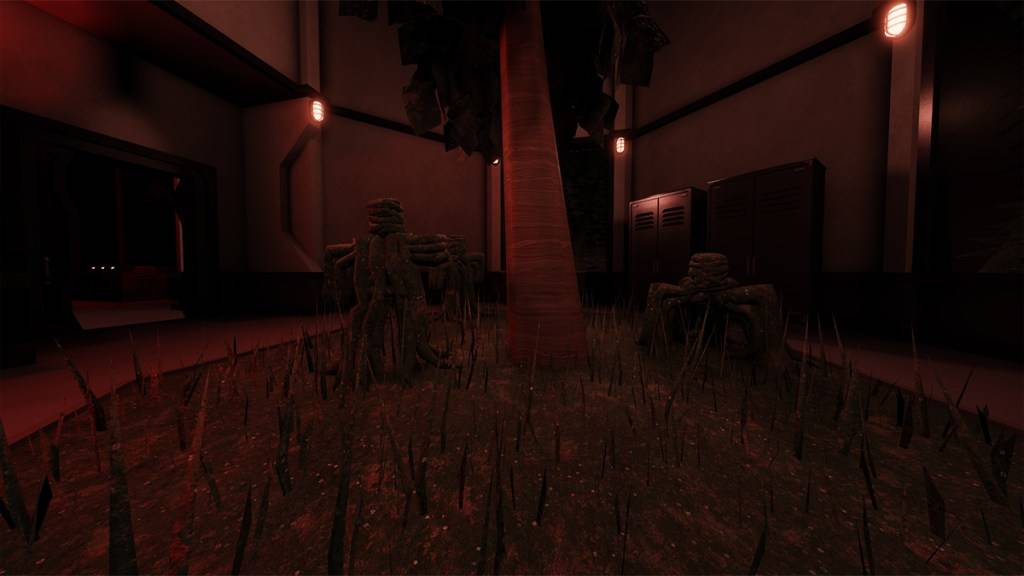
The DiVine
This concludes the guide on surviving all monsters in *Pressure*. Check out our *Pressure* codes for extra rewards!
Latest News
more >-
- Battlefield 6 Cuts MCOM Timers 33%
- May 03,2026
-
-

-

-
- "TMNT: The Last Ronin" Release Date Announced
- Apr 21,2026